First Impressions-Smile Direct Club
- Jul 7, 2019
- 7 min read
My middle school self did everything I possibly could to avoid braces. My teeth weren’t horribly crooked growing up, but as one does when you get to look at yourself every day, I couldn’t help but want to straighten out a few that have gone rogue over time. Thinking back I should’ve just jumped the gun and made the most of my parent’s insurance ;) But that’s all in the past, and we can only focus on the future...right?
Well, thanks to technology and today’s generation, as you may now know, there are companies that have streamlined the “brace face” process. I had decided to go for Smile Direct Club (SDC) over other clear aligner companies simply because they’ve been out in the market the longest.
Was I a little skeptical about the concept behind getting clear aligners without meeting one-on-one with an orthodontist? Yes. Was I worried that a lower price could possibly mean mediocre results? Yes. Did I check my bank account and conclude that regardless of my other worries this was A LOT more affordable than going through the standard process? You got that right!
Obviously, I did a lot more research about the company (which you should too!) and I felt the changes I hoped for were minuscule to where I felt comfortable enough to test out SDC. So here I am, sharing my experience with you in hopes it gives you another perspective!
Note: this is a personal testimony, and was not sponsored by Smile Direct Club.

Summary of Things I Would Want to Know
Do your research (visit their website and read non-sponsored content), there are a variety of different experiences other than my own to base your decision on.
Look through the internet for discount codes before you sign up for an appointment or order an impression kit (I have one for you at the end if you'd like!)
Have your questions ready before you visit your smile shop.
Setting up an appointment and going to your smile shop visit basically means you’re willing to go through (and pay) for the process, so an emphasis on 1 & 3.
Your card might get charged before you even see the 3D renderings--it's just how they do their business. However, if you do not like the renderings you can get them revised!
You get what you pay for: cutting out the costs of doctors appointments might mean cutting out undivided attention from an orthodontist visit and gaining long wait-times for replies.
Once you’re done with your treatment, you still have to wear retainers after--Luckily they provide the option of ordering one through them for $99/6 months.
When going through the treatment, hold on to all your aligners (even the used ones). If you lose a set, they’ll require you to wear last week’s aligners while you wait for new ones.
If you lose an aligner, it’s about $50 to get a new set to replace the ones you lost.
The Smile Shop Experience
I had signed up for a Smile Shop appointment to get 3D impressions of my teeth well...because it was free! I’ve also read that you'll get a more accurate impression of your teeth when scanned by an SDC member rather than trying to do the DIY impression kits they ship to your home.


If you have yet to sign up for an appointment, make sure you look online (Facebook or I’ll even provide my link here for $100 off) for coupons from SDC. They have promotions circulating on almost every social media channel for $100/$50 off your clear aligners set. It’ll usually be a link that sends you directly to their website--if it doesn’t it's probably spam!
You simply sign up with your basic information (they should not ask for your address or anything too specific!) and pick an appointment time. After I had signed up, it had led me to a page that asked for my credit card information--claiming that if I had missed my appointment without notice I would get charged $20. BUT, I did not fill it out as I had planned to go to my appointment anyway, and it had no effect on my visit--so don’t fill it out if you’re not comfortable!
When I got to the Smile Shop, I was handed an iPad and was basically asked to confirm my identity. I was immediately paired with a Smile Shop Associate who took me to what felt like a modern dental office. She asked about what concerns I had with my teeth and also let me ask a boatload of questions in return--which she happily answered. Obviously, they want us to go through with the process so all her responses were positive, so make sure to do your research beforehand to get unbiased answers.
She then walked me through the box I would receive with my aligners, gave me a breakdown of a typical timeline of the process and then asked me to point out specific changes I’d like to see with my smile. It felt a little weird being able to dictate the changes I wanted because typically the orthodontist would decide what's best when it comes to straightening out my teeth. But she assured me that an orthodontist will be overseeing my scans and will ultimately be making the call on what's best for my smil. She explained that they ask to ensure the issues I had with my teeth were addressed--and I guess that was enough for me.
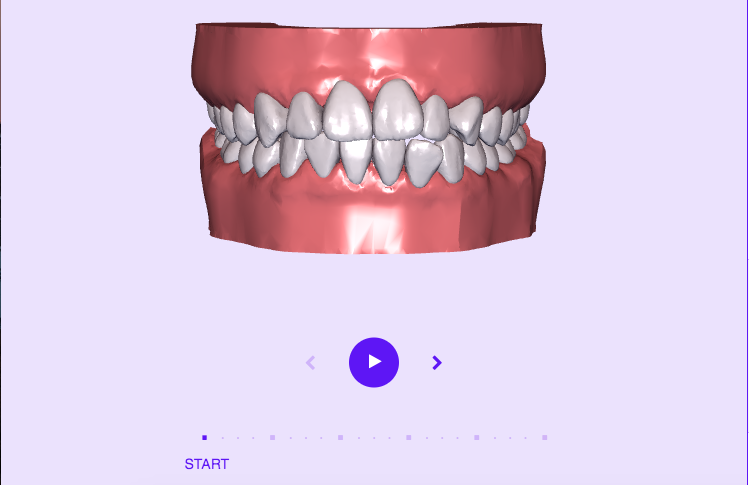
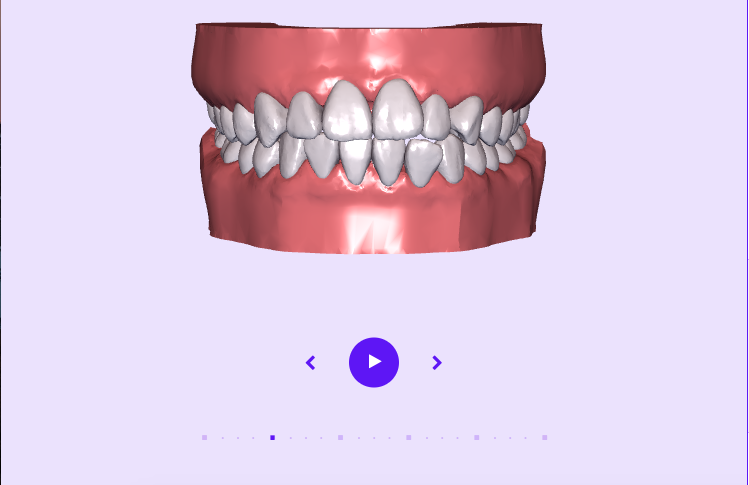
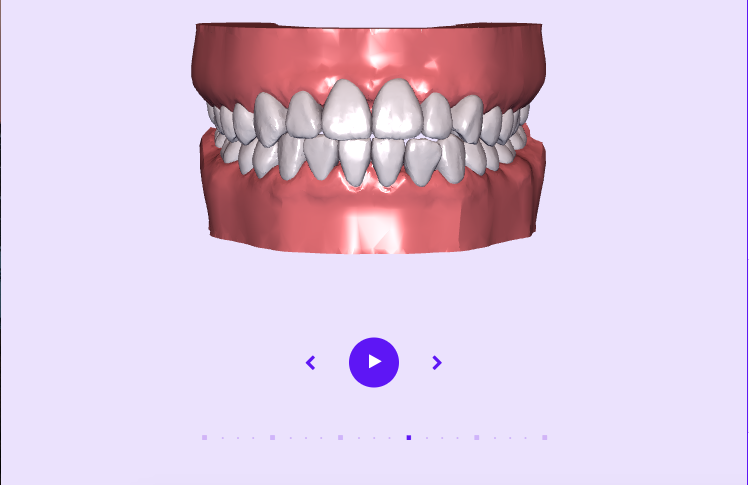
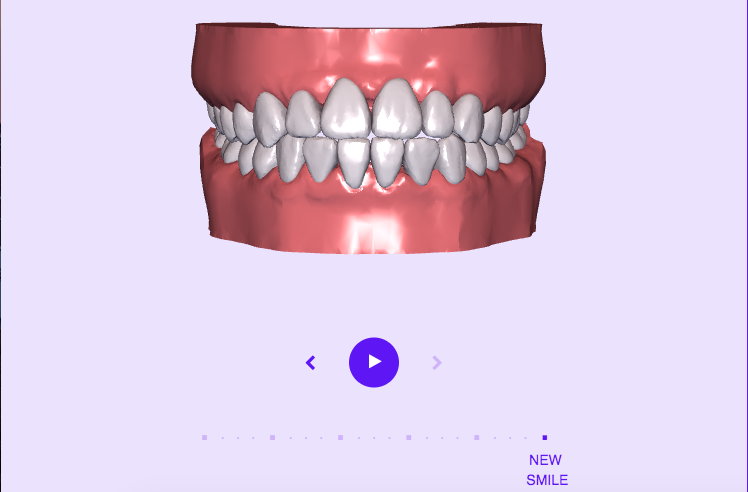
Next was the awkward, yet funny part. She had me put on those mouth stretchers--like the ones Ellen used on her show to play the Speak Out game-- so she could take close up “before” pictures of my bite and my teeth. After, she used a high-tech scanner. With a chunky wand, she scanned the surface of my teeth to create 3D renderings of my smile--which honestly was pretty cool.
Then a 2nd person, who had the aura of what one would call a manager, came in and essentially double checked the scans to make sure it was done correctly before forwarding them to the SDC HQ.
Before I left, she handed me a bag with goodies and that was that! I was also told that I would hear from my assigned orthodontist about my plan/final renderings within 72 hours, and then up to 3-4 weeks to receive my clear aligners--which was a pretty accurate timeline for me!


The Box
Below are the images of the box I received with everything I need to straighten my teeth.


1. Photos explained:
2. First layer came with a set of instructions, a case for your current set of aligners, a lip balm (that closely resembles EOS balms), and 4 sets of "Bright-On" whitening gel.
3. It'll also came with Chewies-- which you chew like gum and are meant to help seat your aligners more closely to your teeth--as well as a tool to help remove aligners.
--Hidden beneath this layer is a smile stretcher (like the one Ellen used) for when your assigned orthodontist asks for photo updates!
4. The bottom half of the box houses all the aligner sets you'll need for the entire process. Make sure to read each packet and make sure you're on the right month/week.
--I'll also save each pouch to put the used retainers back in, just in case I lose the current set and need to go back one month while waiting for a re-order.
5. A close up of my 1st top set of retainers. Clearly need to be rinsed!!
6. Each aligner has a number around the molar area, to let you know what set you're on.
7. Here is what they look like together!
8. Each bright on gel stick has enough for about 4 uses, which is plenty considering every 2 uses will produce results that can last up to 6 weeks.
First Week Feels
It’s been about a week now since I’ve had my first set of aligners in, meaning I’m about to switch to my second set! Having a high pain tolerance and previous experience with retainers made these aligners also feel like I was just wearing a tight protective coating over my teeth. That doesn’t mean I didn’t experience any discomfort! But, I kind of liked it because it made me feel like it was working.
As you can see from the slideshow above, when you first open a new set of retainers they look a little grainy in the inside. First off, make sure to give your new set a good rinse as advised on each packet. The grainy texture will still remain, but I think it's purpose is to help the aligners attach to your teeth tightly. Don't worry, the grainy look will disappear quickly overtime and it isn't visible once worn.
Taking them off was simple as long as you start pulling it off from the back. My teeth did feel a little weird without them on and while I was eating, but that was just a result of having something hugging your teeth tightly for 23 hours of the day. Overall, the entire process of taking them off, rinsing, eating, brushing your teeth, and putting them back on has somewhat reduced my time spent snacking...which is a plus, right? But, it’s only been the first week. I have approximately 19 more weeks to go! Keep a look out for updates in the future!
UPDATE: Two Months Down, Three More to Go.
I’m about halfway through the 2nd month of my treatment and wanted to give a little update of the changes I’ve noticed. Good news, I have already noticed some straightening especially on the bottom row of my teeth. My top teeth haven’t changed significantly but it is still early in the process.
The biggest difference I’ve experienced going into the second month was the difficulty of putting in a new set of aligners each week. It was a struggle to set and push down the next set of aligners, probably because these aligners will cause more shifts in my teeth (compared to 1st month’s). Sometimes it takes me a couple tries to push them in and then it feels incredibly tight. I can feel my teeth moving almost immediately. But, as the week goes on and as my teeth adjust, the tightness goes away and it becomes easier to remove/attach the aligners--which is expected.
I’ve also gotten into a nice groove of dealing with my aligners when I’m out all day. I’ll always carry a travel toothbrush and travel toothpaste tubes with me on busy days out and make do with the resources I have. There are some days where I have to take my aligners off and won’t have access to the bathroom after--meaning I’ll have to wait until I get home to wash them and put them back on. Good news, I’ve found that not wearing my aligners for 2-3 hours or so didn’t set me back too much. However, they do feel slightly tight putting them back on--still, not as difficult as putting on a whole new set.
More updates soon to come!
Was this the final push you needed to try it out? Use my link to sign up and get a $100 off your aligner set!


Comments